Merging Traditional and Digital Art Techniques
Artists around the world continue to find meaningful ways to combine classical craftsmanship with modern digital tools. This practice opens up creative spaces that allow fresh perspectives and a wider reach for their visual language.
Understanding the Two Approaches
Traditional art relies on tactile engagement. It involves direct contact with materials like charcoal, oil paint, canvas, or handmade paper. Every mark made by a brush or pencil carries the weight of texture and manual control.
Digital art, in contrast, depends on electronic tools—such as drawing tablets, styluses, and design software. It allows greater flexibility and faster corrections. Artists can zoom in, undo errors, or modify layers without damaging the core of their composition.
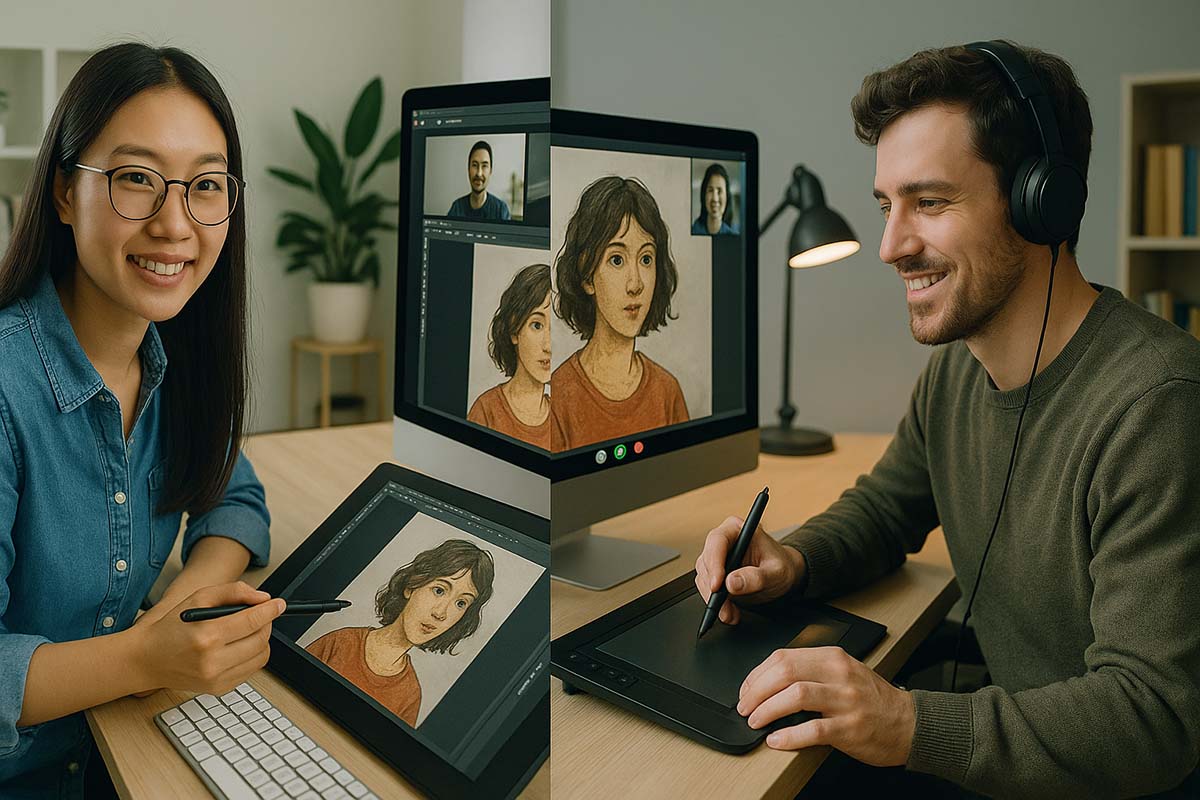
Combining the two creates a broader path for creative decision-making. For instance, many illustrators draw in their notebooks, then scan those works and continue building on them in programs like Photoshop or Clip Studio Paint. This integration keeps the emotion of the original sketch while expanding the final product’s visual potential.
Why the Combination Gains Support
There’s a growing appreciation for artworks that marry both styles. These creations hold the warmth of traditional practice and the versatility of digital enhancement.
Some of the advantages include:
Richer contrast in tone and visual weight.
Easier experimentation with lighting, gradients, and textures.
Fast revisions without destroying the foundation.
Access to international collaborations via digital platforms.
In Madrid, curated exhibits feature these hybrids. You’ll see acrylic paintings illuminated by motion graphics that bring static pieces to life. Viewers don’t just look—they engage, often interacting with projected visuals that shift depending on proximity or movement.
Starting with a Plan
To begin blending the two approaches, sketch a basic outline on paper. Focus on composition and line work. It doesn’t have to be perfect—just enough to anchor your concept.
Once done, capture the artwork using a high-resolution scanner. If a scanner isn’t available, a quality camera setup with even lighting can suffice. Load the image into a preferred art software. Many choose Procreate for its intuitive interface, while others go with Krita or Photoshop for more control.
Inside the software, adjust brightness and sharpness. Use separate layers for base colors, highlights, and final details. This helps preserve the original sketch while making it easier to revise or test new ideas.
Examples of Creative Collaboration
In Paris, a team of artists initiated a digital showcase that started with hand-painted scenes. Each participant added their own twist through motion effects. Some used looping animations while others layered time-lapse brushwork to simulate the evolution of their paintings.
Seoul also embraces this hybrid movement. A public mural in the city becomes animated after sundown using projection mapping. The wall’s imagery shifts in color and form, reflecting themes of history and modernity. Passersby witness a transformation that respects its foundation while inviting reinterpretation.
Choosing the Tools That Fit Your Process
For physical work, archival materials are crucial. Choose thick paper that can hold ink without bleeding. For color-intensive pieces, watercolor paper or canvas boards provide strength and texture.
Digitally, a reliable tablet with pen pressure sensitivity allows for responsive strokes. This feature mimics the resistance of real brushes or pencils. Styluses don’t need to be expensive—what matters most is comfort and accuracy.
Software selection should align with your needs. Artists creating game assets might lean toward vector software, while those focused on portraits may prefer raster-based programs.
Suggested Workflow Steps
To organize the transition between mediums, follow a sequence that keeps your process smooth:
- Start with a pencil draft on your chosen surface.
- Scan at 300 dpi or more for clarity.
- Import into software and adjust canvas size if needed.
- Create base layers and mark areas of light and shadow.
- Apply digital colors and refine texture using custom brushes.
- Save frequently, using layered formats (like PSD) to allow changes later.
- When ready, export in high quality formats for web or print use.
Enhancing with Shape and Light
Transparency plays a huge role in building dimension. You can explore it using watercolors on paper. Once scanned, add digital glow around certain points like light sources, reflections, or glowing edges.
Take portraits, for example. A few physical brush taps can serve as the skin’s base tone. In digital layers, add sparkle to the eyes or subtle lighting on the cheeks. These additions give the artwork depth and atmosphere.
Finding and Joining a Community
Creativity thrives in supportive networks. Platforms such as Behance and ArtStation are ideal for showcasing mixed-media workflows. They allow creators to publish full progress documentation, from sketch to final image.
Joining online groups not only inspires but also improves skills. Many communities host critiques, allowing artists to receive feedback on both visual quality and technique. Webinars and video sessions often feature professionals who demonstrate how they merge mediums.
Workshops are also available—some live, others recorded—that teach how to develop hybrid projects. Many include Q&A sessions and downloadable resources to help users follow along at their own pace.
Challenges You Might Face
Some hurdles appear when crossing between mediums. These are a few and how to solve them:
Size mismatch: Keep consistent dimensions by setting templates before scanning or printing.
Texture flattening: Supplement digital edits with texture brushes or import actual paper scans to overlay.
Color distortion: Always calibrate your screen using built-in tools or third-party calibrators.
Stylistic imbalance: Make a style sheet to guide color, brush size, and texture use.
Staying consistent with tone and theme is key to making the finished piece feel complete.
Reaching a Broader Audience
This kind of hybrid artwork breaks traditional boundaries. Traveling exhibits often showcase works that move between formats. For instance, one canvas might begin as an oil painting and later become part of a VR installation.
In Tokyo, digital galleries host works from artists around the world. Their selection includes stitched digital collages, animated watercolor loops, and scanned sketches brought to life through coding. These spaces reveal how cultural practices meet digital evolution without conflict.
Keeping It Personal
One concern when moving into the digital space is losing the artist’s unique identity. This can happen when presets and templates are used too frequently. Instead, create custom brush packs or scan textures like wood grain or woven fabric to layer into your work.
Even the imperfections—uneven strokes, small ink smudges—help define your voice. Digital doesn’t need to erase the hand behind the work. It can emphasize it.
Ways to Improve and Stay Inspired
Growth requires curiosity. Here are a few ways to keep improving:
- Try blind sketches and add precision afterward through digital tools.
- Participate in art marathons or weekly theme challenges.
- Update your software regularly to learn new features.
- Watch behind-the-scenes content from artists blending formats.
- Set aside time each month to try something new. Whether it’s a different brush, texture, or lighting style, variation keeps your workflow refreshing and productive.
The merging of hand-drawn artistry and digital refinement doesn’t replace tradition—it strengthens it. It expands the definition of visual storytelling and opens it up to broader, more inclusive audiences.